100 Days of Cloud (Azure Edition)
Day 25 of Cloud (Azure Edition)
AZURE
Nyan
12/18/2025
Day 25: Expanding and Managing Disk Storage
Task: The Nautilus DevOps team needs to expand the storage capacity of an existing virtual machine and add an additional data disk to support increased workloads. This task requires resizing the existing VM disk and mounting a new data disk to the VM.
As a member of the team, perform the following steps:
1) Expand the existing VM nautilus-vm disk from 32Gi to 64Gi.
2) Also create a new standard HDD data disk named nautilus-disk of 64Gi and mount the disk to VM nautilus-vm at location /mnt/nautilus-disk.
Use the below given Azure Credentials: (You can run the showcreds command on azure-client host to retrieve these credentials)
Day 25 of 100 Days of Cloud (Azure Edition) : Solution
To modify the harddisk of the existing VM, we need to stop or deallocate the VM 1st. In this scenario, I just STOP the VM.
Day 25 of 100 Days of Cloud (Azure Edition) : Cheers


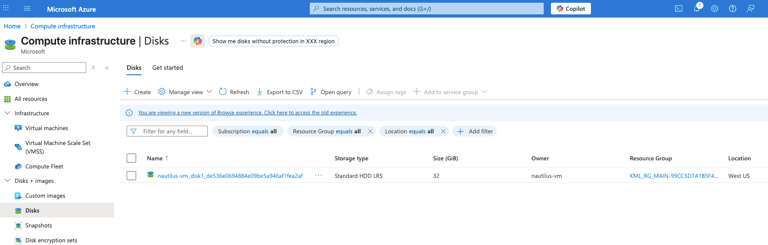
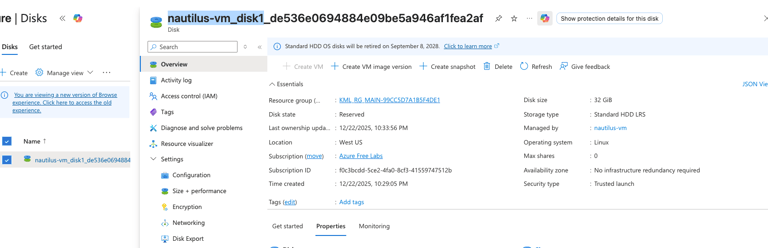
In the Compute Infrastructure, Under Disk + images, choose Disks.
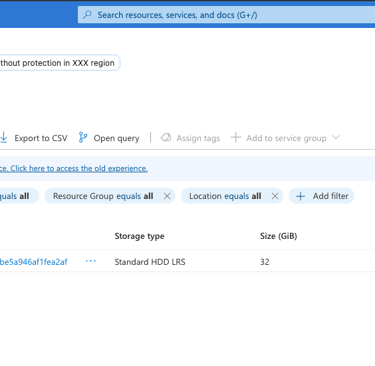
Choose the existing disk called nautilus-vm_disk1.
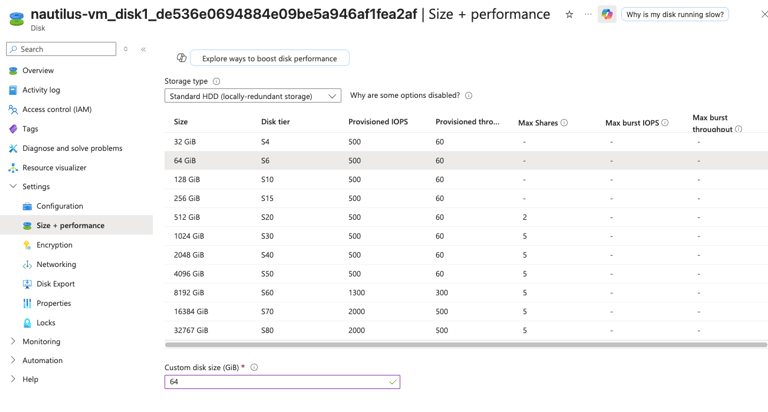
In Settings, Choose Size + Performance to upsize the harddisk.
Choose from 32 GiB to 64 GiB and click save button.
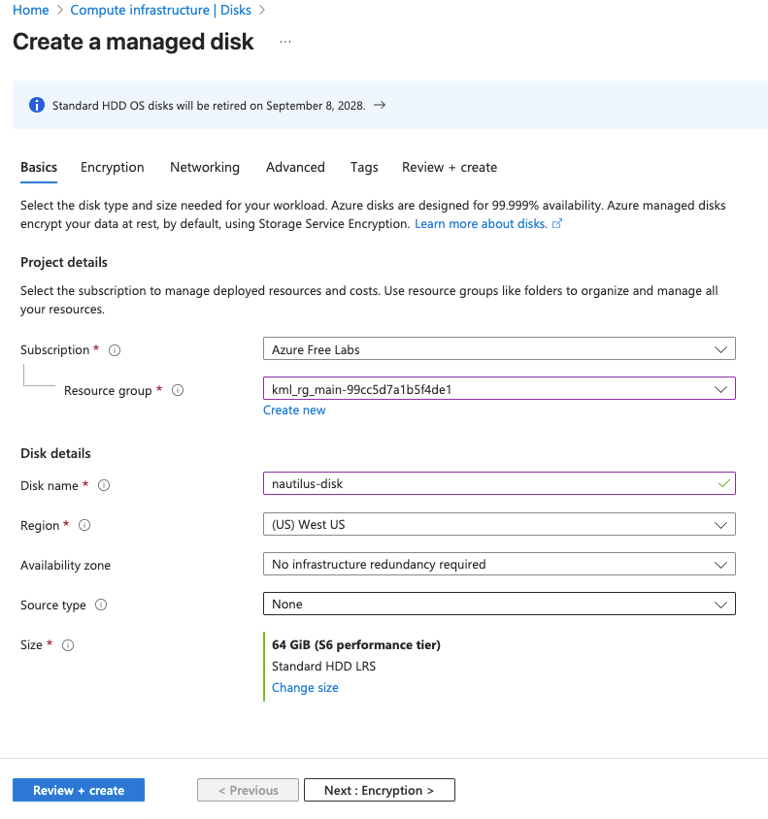
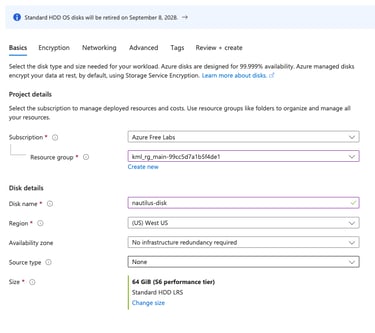
To create a new standard HDD data disk, choose existing resource group and disk name as nautilus-disk and choose source type as None and size as 64 GiB and storage type as Standard HDD LRS.
Click Review + Create.
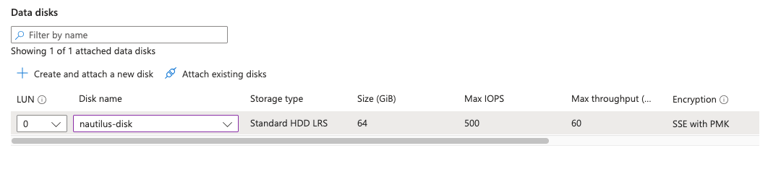

Choose the natulius-disk in disk name and choose LUN as 0 and attach into the existing VM.
To set the mount point, login into the azure vm in the jump host.
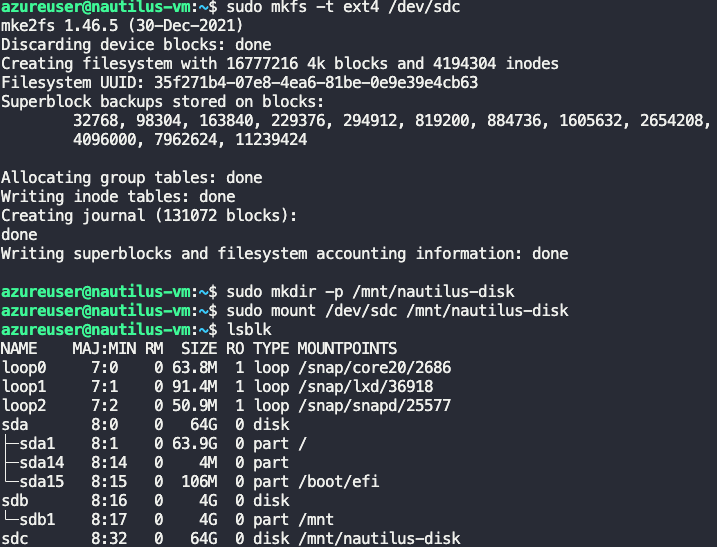
To locate the new disk, use command
1. Locate the new disk
lsblk
# 2. Format the disk (assuming it is /dev/sdc)
sudo mkfs -t ext4 /dev/sdc
# 3. Create the mount point
sudo mkdir -p /mnt/nautilus-disk
# 4. Mount the disk
sudo mount /dev/sdc /mnt/nautilus-disk