100 Days of Cloud (Azure Edition)
Day 17 of Cloud (Azure Edition)
AZURE
Nyan
12/10/2025
Day 17: Create a Public Azure Blob Storage Container
Task: As part of the data migration process, the Nautilus DevOps team is actively creating several storage containers on Azure. They plan to utilize public Blob containers to store the relevant data. Given the ongoing migration of other infrastructure to Azure, it is logical to consolidate data storage within the Azure environment as well.
Create a new storage account named datacenterst6115 and a public Blob container named datacenter-blob-22844 within the storage account. Make sure anonymous read access for containers and blobs is enabled.
Use below given Azure Credentials: (You can run the showcreds command on the azure-client host to retrieve credentials)
Day 17 of 100 Days of Cloud (Azure Edition) : Solution
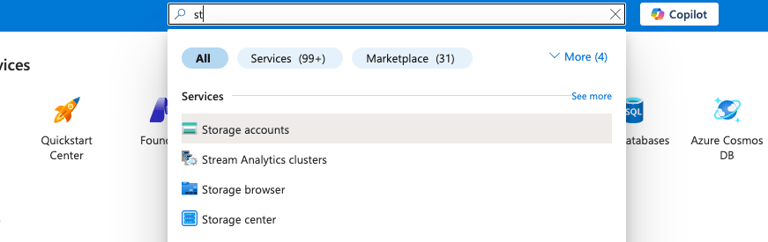
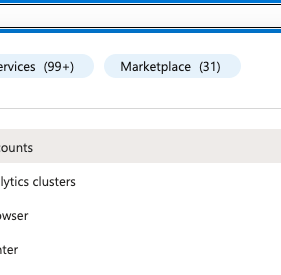
Type st in the search box and choose Storage accounts.
Day 17 of 100 Days of Cloud (Azure Edition) : Cheers


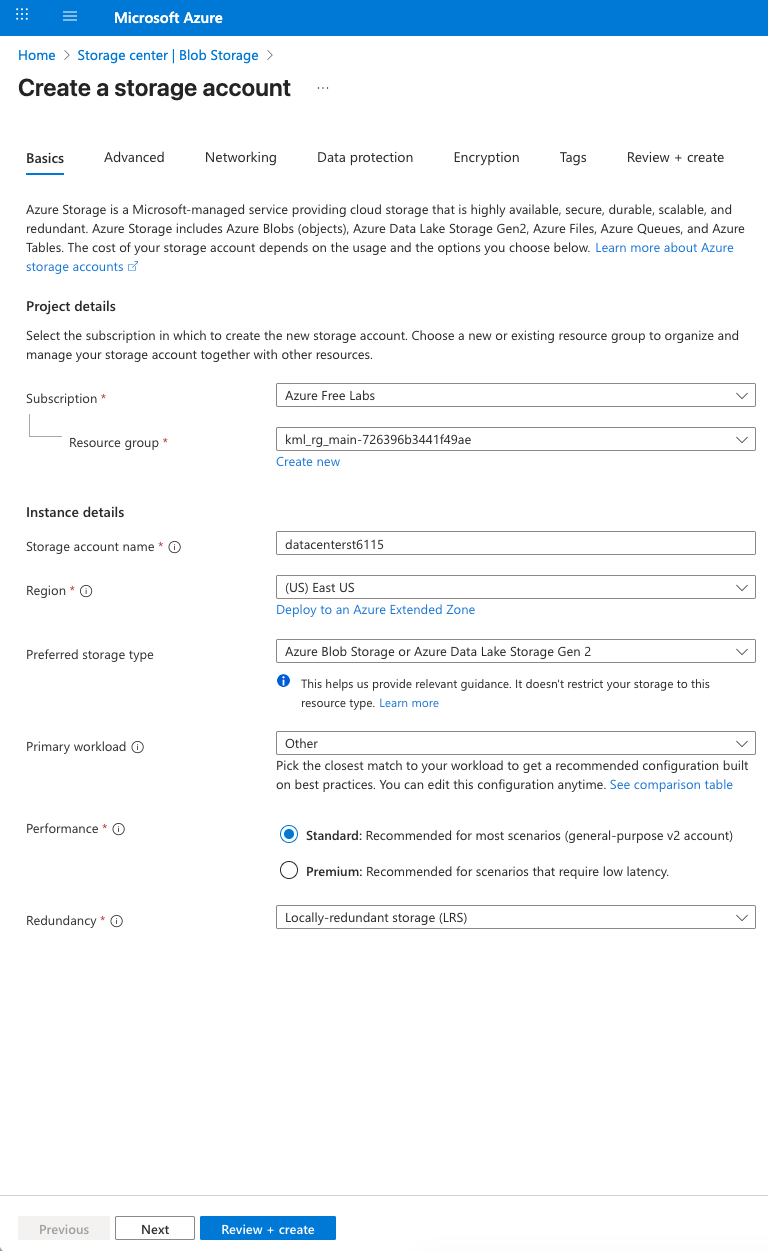
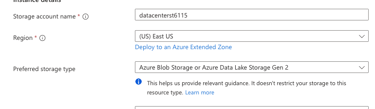
Choose the existing resource group and give the storage account name as datacenterst6115 as provided in lab.
Choose Preferred storage type as Azure Blob Storage or Azure Data Lake Storage Gen 2.
Choose Performance as Standard.
Choose Redundancy as Locally-redundant storage (LRS).
Click Review + Create button.
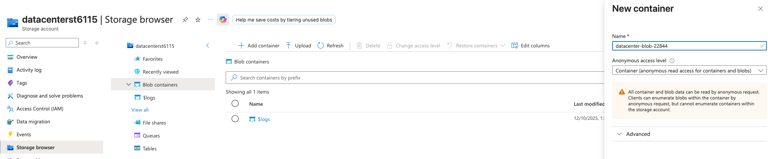
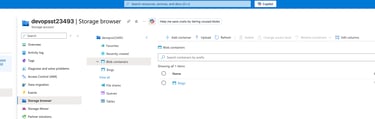
In Storage Browser, choose Blob containers and click add container for create the public blob container.
Give the name as datacenter-blob-22844 and choose the anonymous access level as Container (Anonymous read access for containers and blobs) and click create button to create the public blob container.

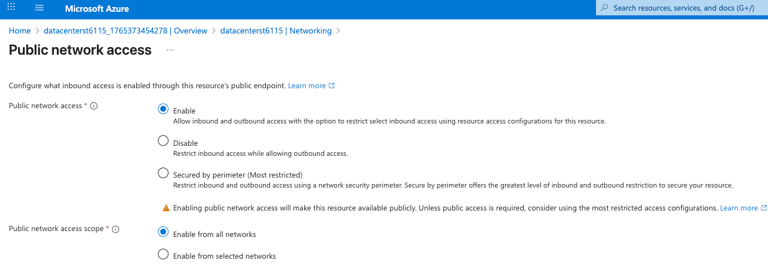
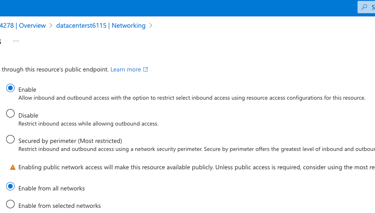
In Security + Networking Tab, Choose Networking and in public network access choose Enabled from all networks. Leave the other settings as default and click Save.
In Settings Tab, choose Configuration and choose Enabled for Allow Blob anonymous access and click Save.