100 Days of Cloud (Azure Edition)
Day 14 of Cloud (Azure Edition)
AZURE
Nyan
12/7/2025
Day 14: Create and Attach Managed Disks in Azure
Task: The Nautilus DevOps team is strategizing the migration of a portion of their infrastructure to the Azure cloud. Recognizing the scale of this undertaking, they have opted to approach the migration in incremental steps rather than as a single massive transition. To achieve this, they have segmented large tasks into smaller, more manageable units. This granular approach enables the team to execute the migration in gradual phases, ensuring smoother implementation and minimizing disruption to ongoing operations. By breaking down the migration into smaller tasks, the Nautilus DevOps team can systematically progress through each stage, allowing for better control, risk mitigation, and optimization of resources throughout the migration process. Create a managed disk with the following requirements:
Name of the disk should be xfusion-disk.
Disk type must be Standard_LRS.
Disk size must be 2 GiB.
Use below given Azure Credentials: (You can run the `showcreds` command on the `azure-client` host to retrieve these credentials)
Day 14 of 100 Days of Cloud (Azure Edition) : Solution
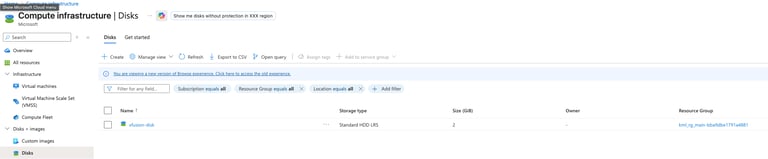
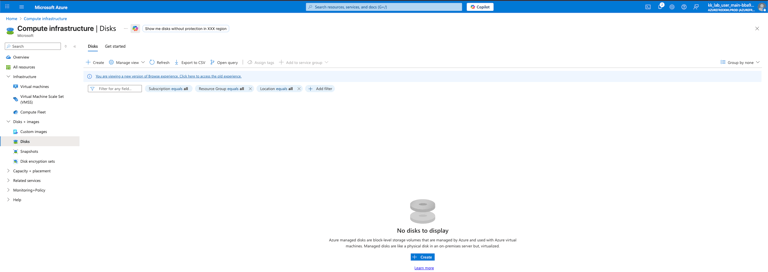
Try to create the disk by using the disk tab which is under Azure Compute Infrastructure.
Day 14 of 100 Days of Cloud (Azure Edition) : Cheers


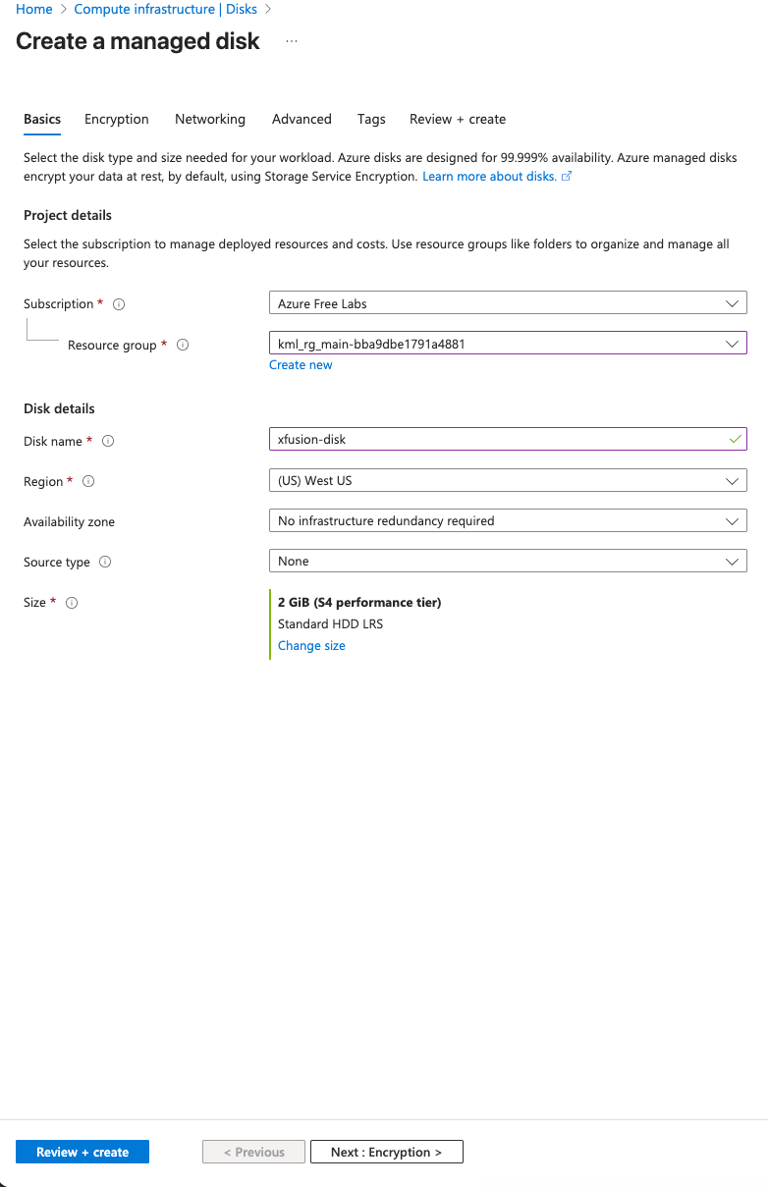

Choose the existing resource group and give the disk name as xfusion-disk.
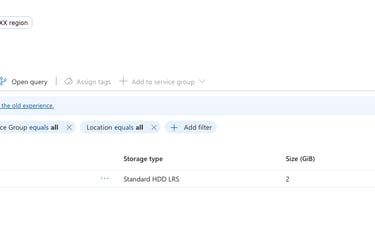
Choose Size as 2 GiB and choose storage type as Standard HDD.
Click Review + Create and create the disk.